Block & Roll — a modular base-10 tower, designed by Dad & Son
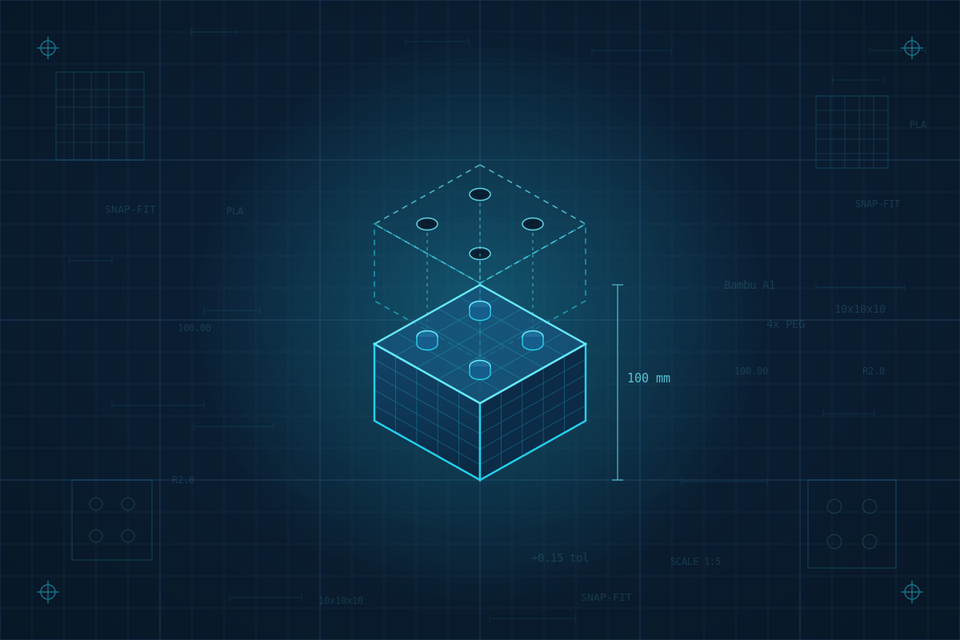
My son came home wrapping his head around place value — ones, tens, hundreds, thousands — and I did what any engineer-parent does: I turned it into a project. Instead of explaining 10,000 with worksheets, we decided to build it. Ten cubes, each one worth 1,000, stacked into a single tower that stands a full meter tall. You can pick it up, pull it apart, and physically feel what "ten thousand" means.
We called it Block & Roll. This is the story of how we designed and 3D printed it — and all the small engineering decisions hiding inside something that looks like a simple stack of blocks.
The Idea
The goal was deliberately narrow, the way good requirements should be:
- Ten stackable cubes
- Each cube represents 1,000 units
- Stacked together they form a 1-meter, 10,000 tower
- Built for hands-on place-value learning
That's it. One clear outcome. Everything else was in service of it.
What I love about a project like this is that it starts as a math lesson for a 10-year-old and quietly turns into a lesson in CAD, tolerances, and 3D printing — for both of us. My son wasn't just watching; he was in every design discussion, voting on shapes and testing whether the cubes actually snapped together the way we wanted.
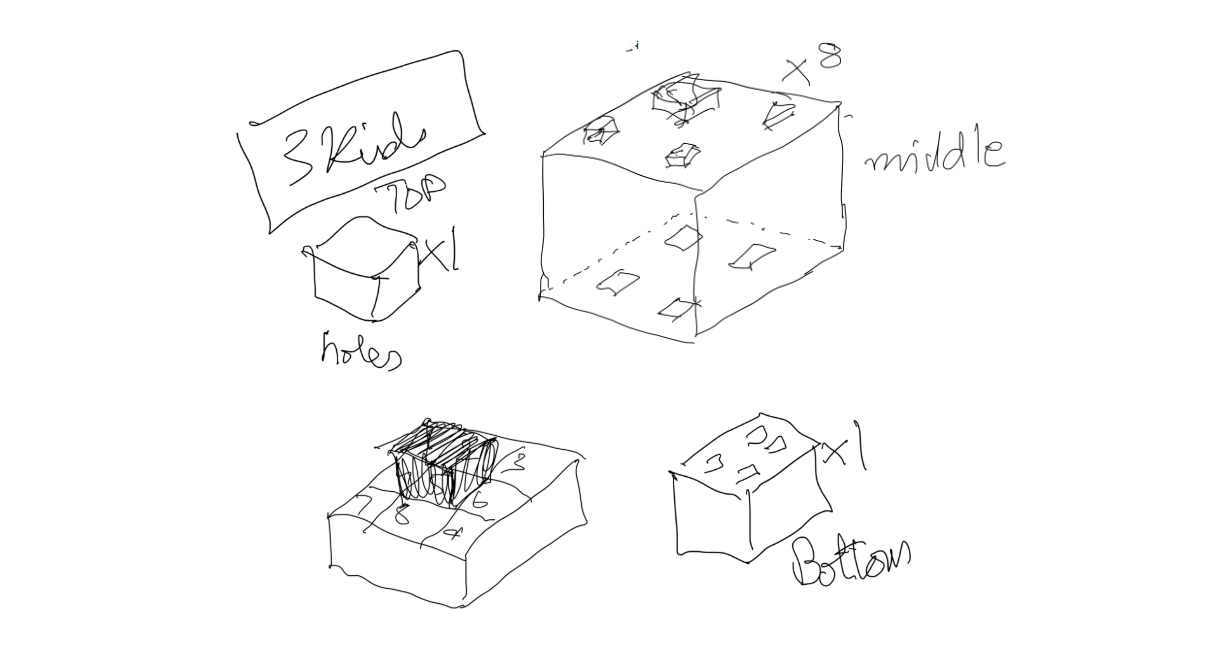
The first sketch — three kinds of cube: a top (holes), a middle (pegs on top, holes below), and a bottom
Design Goals (a.k.a. the real constraints)
The "ten cubes" requirement was easy. The interesting engineering lived in the constraints around it:
- Safe for classroom handling. No sharp edges. Every corner got smoothed into a soft "pillow" look. Kids are going to grab these, drop these, and probably throw a couple.
- Durable for repeated stacking. A dedicated peg-and-hole system so cubes align and hold together reliably, over and over.
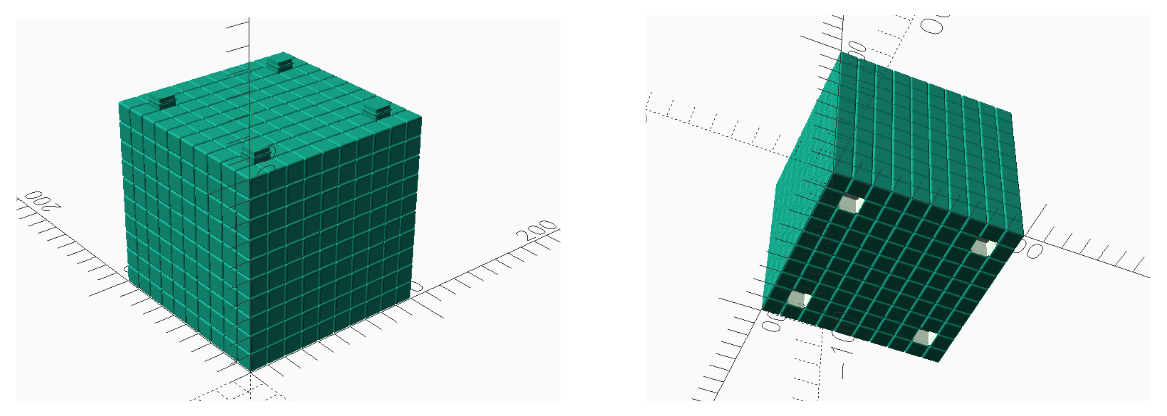
- Visually represent the 10×10×10 structure. Grooves carved into each face so a solid cube reads as a thousand little unit cubes. The whole point is to make the math visible.
- Stable at a full meter. A one-meter stack is tall and tippy. Four pegs instead of one center peg turns a wobbly tower into a structurally sound one.
- Efficient to print. A cube on default settings took close to 7 hours. Multiply that by ten and you're printing for the better part of three days. Getting that down mattered.
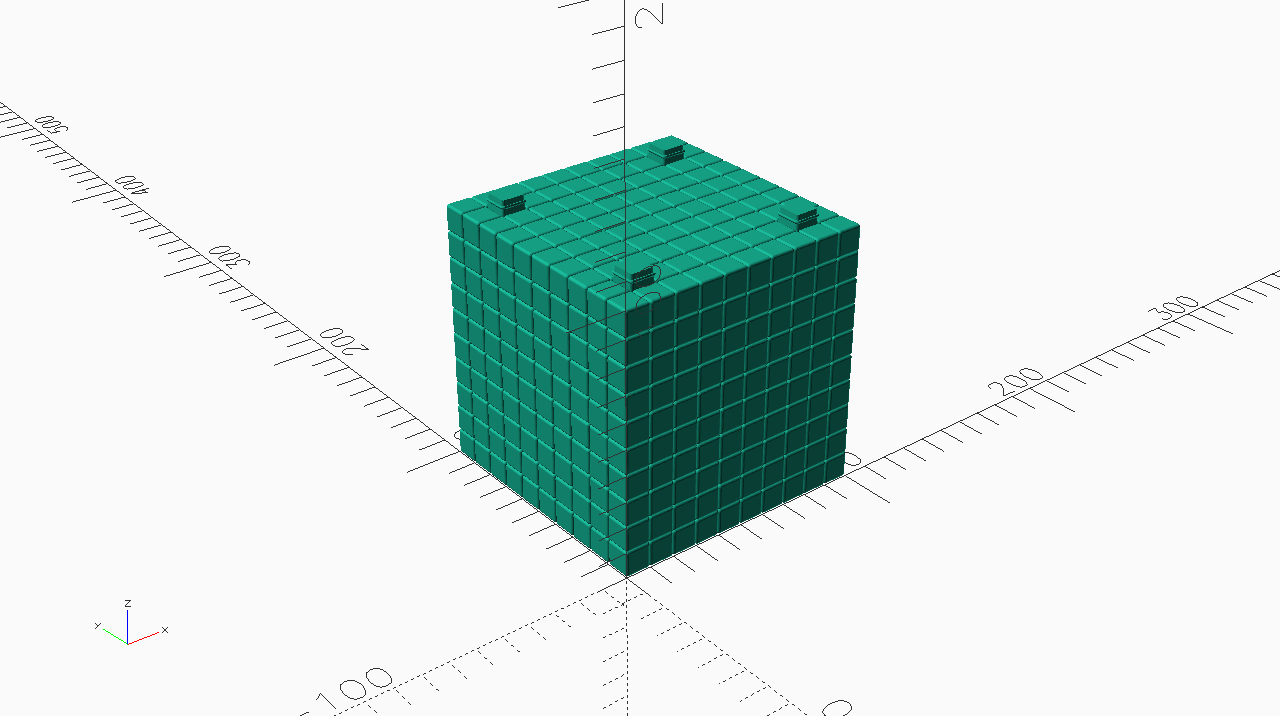
The final OpenSCAD model — 4-peg interlocking system and the 10×10×10 visual grid
The Tools
Half the fun of any build is the stack you get to play with. Here's what went into this one:
- OpenSCAD — CAD as code. You describe geometry in a small programming language instead of dragging a mouse around. For an engineer, this feels like home: parametric, version-controllable, and repeatable.
- Google Antigravity (AI) — used to help design and generate the model, especially to get the snap-fit connector's structure and fit right.
- Bambu Lab A1 — the 3D printer that churned out every cube.
- Bambu Lab PLA Basic (Cyan) — a safe, simple plastic for the blue cubes.
Designing in OpenSCAD is the part that most feels like software. You change a variable, re-render, and the whole model updates. Peg diameter, wall thickness, groove depth — all just parameters you can tune and re-tune without starting over.
Design Challenges & Iterations
No design survives first contact with a 3D printer. Here's where the plan met reality.
Geometry: From Sharp Valleys to Pillows
The first version carved the sub-cube grooves as sharp V-valleys between each small square. Two problems showed up immediately. First, print sag — 3D printers want each layer supported by the one below it, and sharp downward valleys don't give the printer much to hold onto. Second, sharp edges just aren't great in the hands of kids.
We revised to a rounded V-shape, which fixed the support problem but looked awkward. The winner was a "pillow" geometry — soft, rounded grooves that printed cleanly and felt good to hold. Same idea as good software: the version that's both robust and pleasant usually takes a couple of tries to find.
The Interlocking System
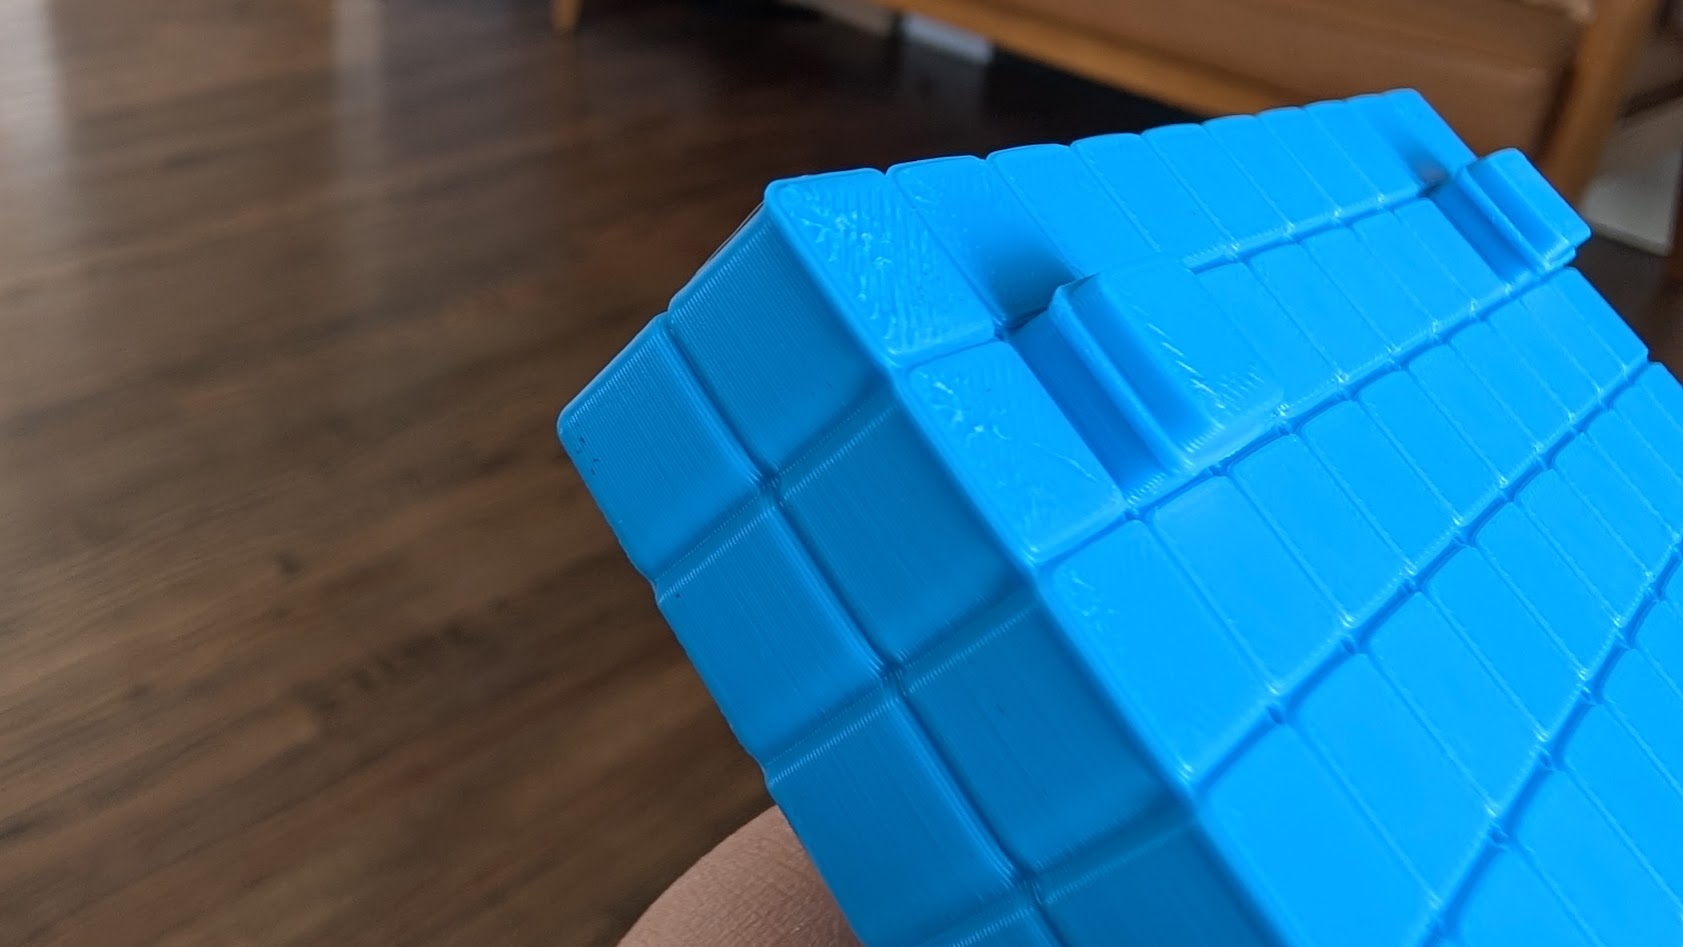
Getting cubes to hold together is a tolerance problem, and tolerance problems are humbling.
- We started with a diamond peg shape. It held tight — too tight, and harsh to pull apart.
- Switched to circular pegs, which aligned much more smoothly.
- Then dialed in the actual snap-fit tolerance the only honest way: test prints. Print, try the fit, adjust the numbers, print again.
This is the kind of thing you can't fully solve on screen. The gap between "looks right in CAD" and "clicks together in your hand" is a few tenths of a millimeter, and you find it empirically.
Structural Testing
Before committing to a 7-hour full print, we de-risked it the cheap way: printed small test sections instead of whole cubes. That let us compare single-peg versus four-peg stability directly and tune tolerances without burning a full spool of filament and a full day of print time. Cheap experiments before the expensive commit — same instinct as writing a quick spike before building the real feature.
3D Printing Notes
If you want to print your own Tower of 10,000, here are the settings that worked for us on a Bambu Lab A1 with PLA Basic. Consider this the TL;DR for the print itself.
Model specs
- Size: 100mm × 100mm × 100mm per cube
- Material: PLA Basic (Cyan)
Strength & infill
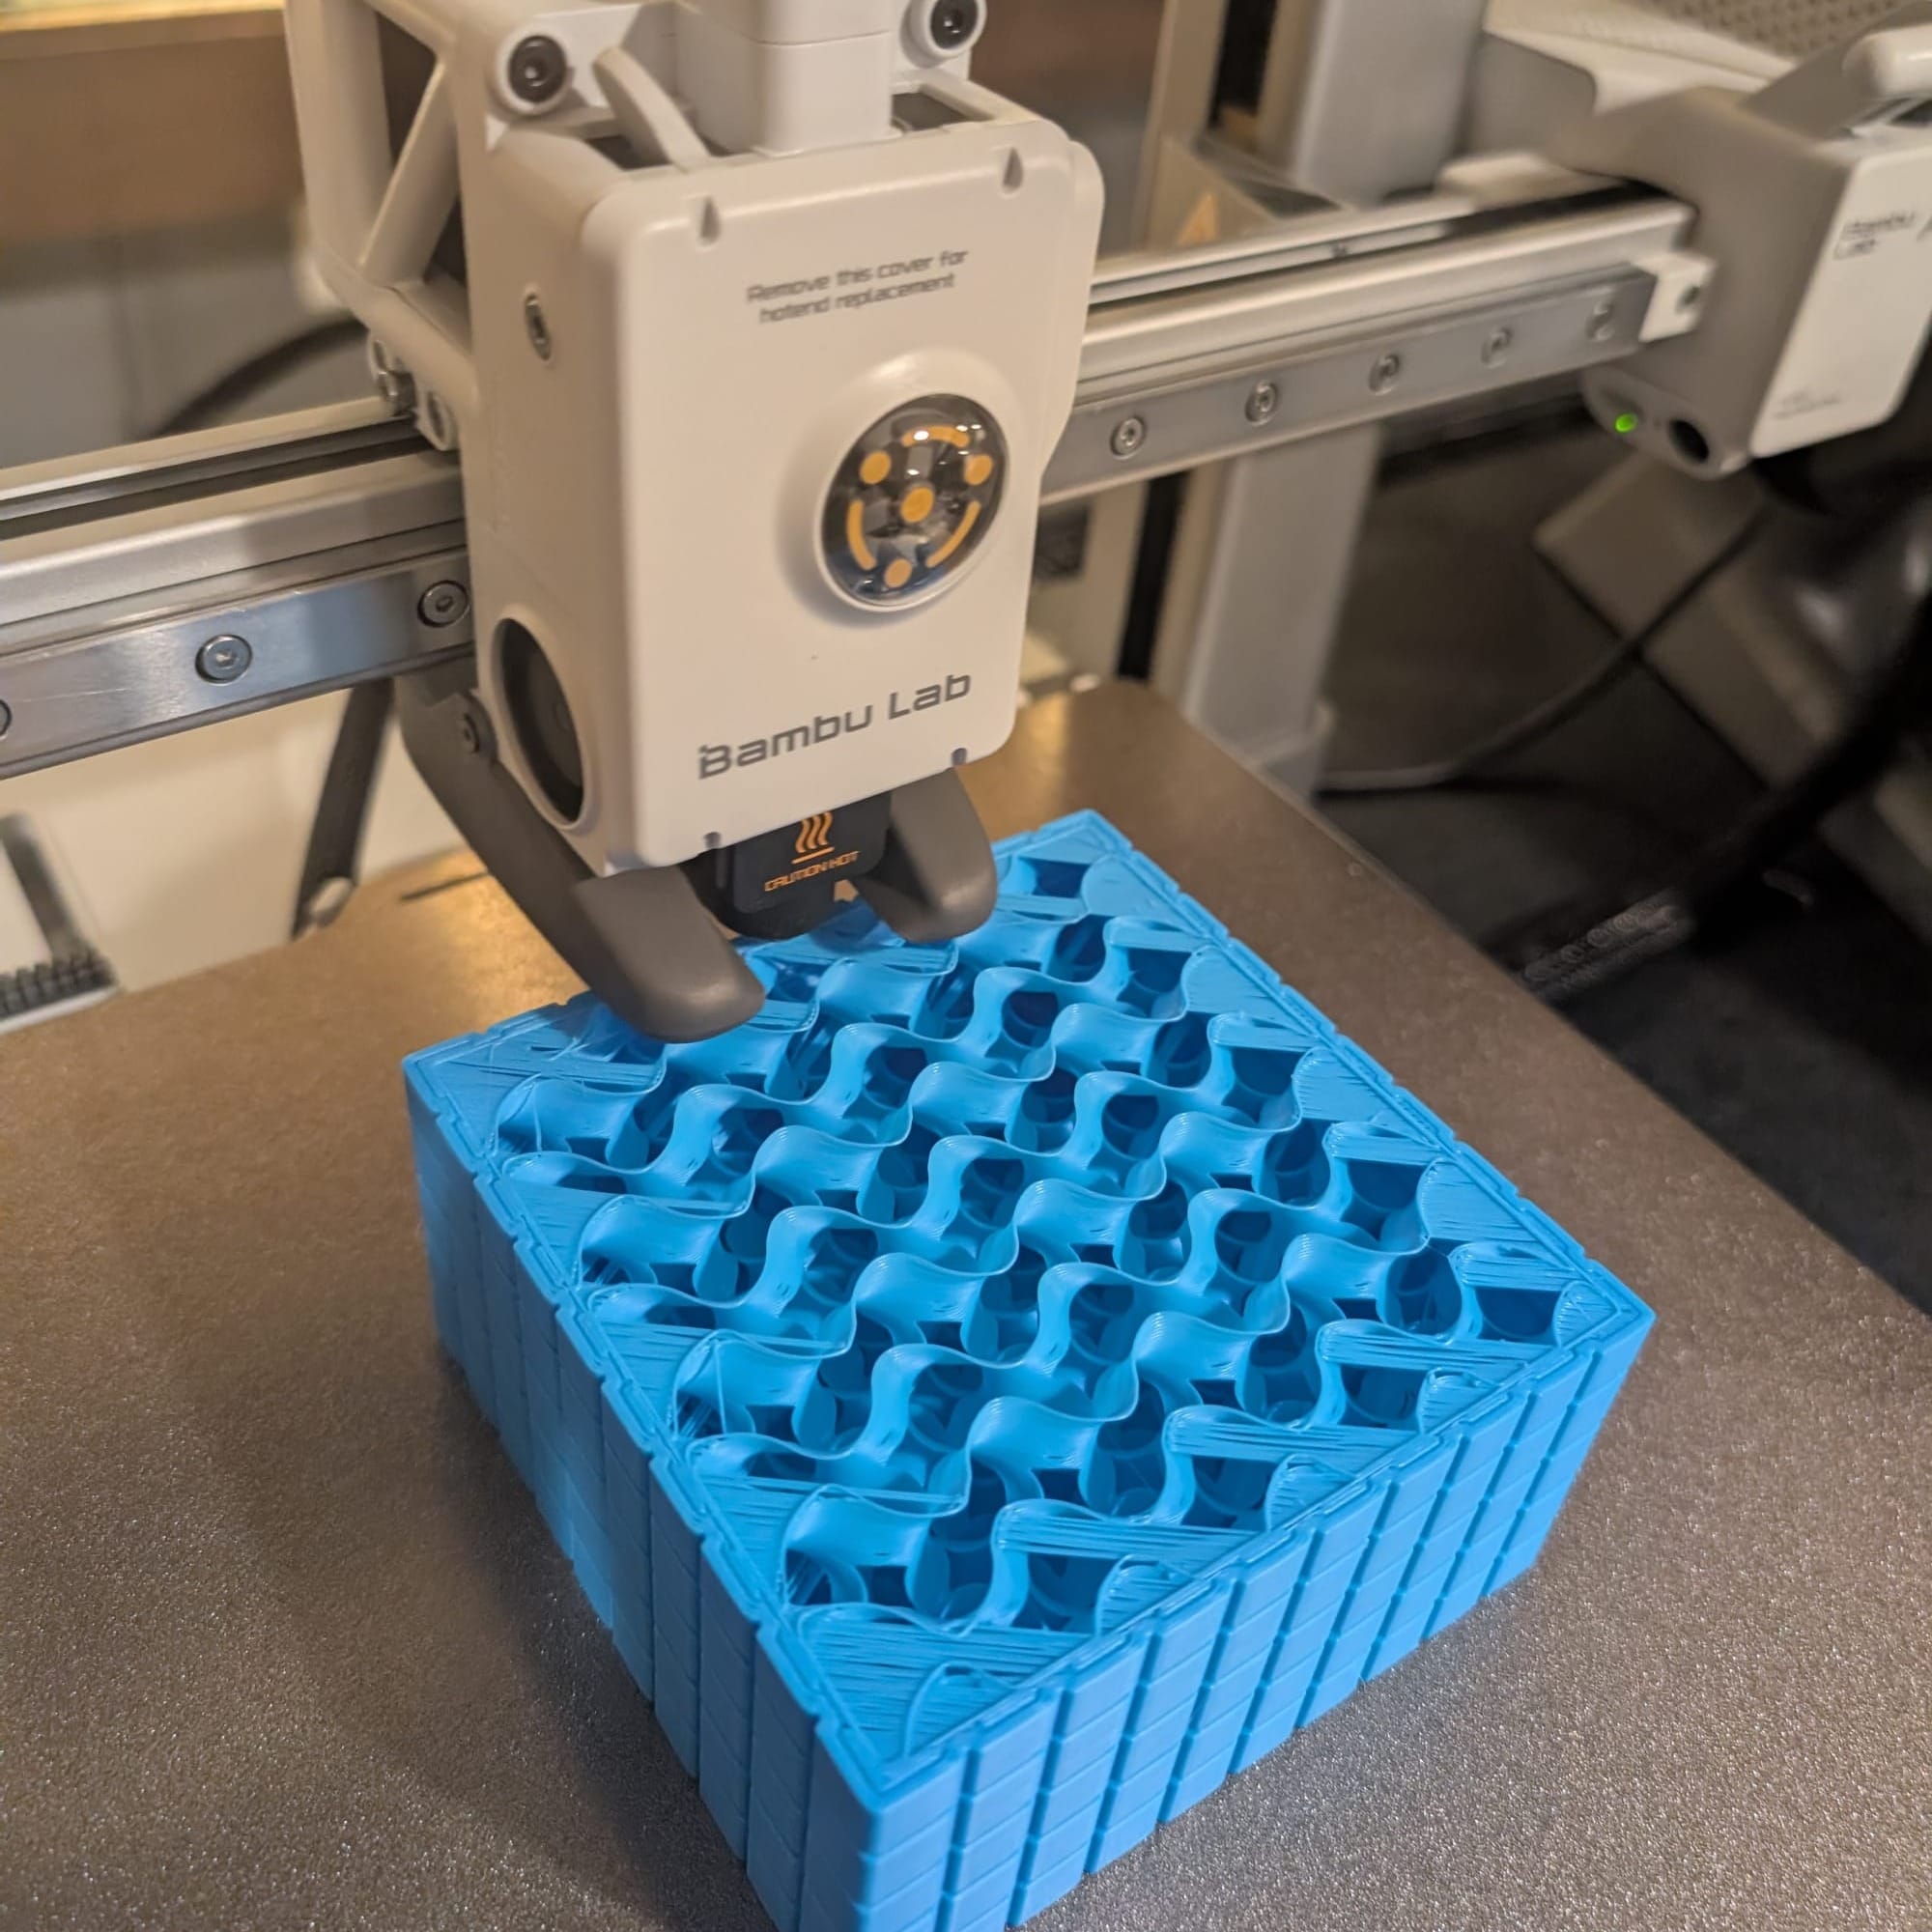
These are big, mostly-solid blocks, so default infill wastes a lot of filament and time.
- Wall Loops:
3— good strength for the snap-fits - Top/Bottom Shell Layers:
4 - Infill Density:
5%–10%. Try 5% Gyroid first; for a cube this size it's still plenty strong for normal play and saves ~1–2 hours. - Infill Pattern:
Gyroid— stronger if the kids are really going to play with it. (10% Gyroid runs ~7 hours but gives excellent impact resistance for a toy.)
Quality
- Layer Height:
0.20mmstandard - Seam Position:
Aligned— hides the seam in a back corner
Speed & Cooling
- Slow Down for Overhangs: on
- Auxiliary Fan: off or low — uneven cooling on big corners invites warping
- Part Cooling Fan:
100%
Build Plate Adhesion
- Plate Type: Textured PEI
- Brim: Auto, or Outer and Inner at
5mmwidth (Others → Bed Adhesion → Brim Type)
Big cubes with sharp corners love to warp off the plate. A brim is highly recommended to keep those corners pinned down.
Notes For Specific Parts
Middle & bottom cubes (the studs): Supports disabled. The studs are chamfered and the snap-fit rim is only a 0.2mm overhang — the printer handles it without help. The rim is small, so make sure your Flow Ratio is calibrated if the fit ends up too tight or loose. If the studs look messy, slow down Small Perimeter Speed.
Top & middle cubes (the holes): Supports disabled. The internal sockets are short bridges (~10mm) the printer spans without issue. Keep Bridge Flow Ratio around 0.95–1.0 and make sure Detect Bridging is on.
Speed Hacks (without sacrificing durability)
If 7 hours per cube is still too much — and across ten cubes, it adds up fast — these got us down toward ~5 hours each:
- Layer height
0.20mm→0.24mmor0.28mm. Fewer total layers. On vertical blocks the visual difference is minimal. Time saved: ~20–30%. - Combine Infill. Prints walls every layer but infill every other layer. Big reduction in infill travel time.
- Outer Wall speed up to
200–300 mm/s. The A1 can handle it, and for a simple cube you can push the outer wall safely. - Top/Bottom layers
4→3. Slightly less impact-proof, but usually fine for PLA.
One rule I wouldn't break: don't drop Wall Loops below 3. That's where the impact strength lives, and these blocks are going to take a beating.
Conclusion
We set out to explain the number 10,000 and ended up with a genuine little engineering project — sketches, a parametric CAD model, a snap-fit designed through test prints, and a print profile tuned to shave hours off ten long jobs.
The best part wasn't the finished tower, satisfying as it is to stack to a full meter. It was watching my son move from "why won't the pegs fit?" to actually reasoning about tolerances and why we round the corners. That's the whole vibe: an everyday problem, looked at through an engineer's eyes, turned into something you can hold.
Now if you'll excuse us, we have nine more cubes to print — and someone already wants a red set.


Comments ()